iPhone Traffic Capture

    If you would like to capture traffic from the wireless interface of an iPhone. You will need the following:

    • iPhone identifier
    • Remote Virtual Interface Tool rvctl
    • Traffic capture software
    • macOS computer

    Plug the iPhone into a macOS computer using a USB to Lightning cable. Run Xcode, and access the Device and Simulators window through the menubar Window > Device and Simulators or by using the keyboard short ⇧⌘2.

    Once presented with the Device and Simulators window, select your iPhone from the list of Connected Devices.

    Retrieve the identifier number for the iPhone to use with the rvictl command to start remote traffic capture.

    Open Terminal application to access a shell prompt. Use rvictl and iPhone identifier to create interface.

    sh$ rvictl -s 00008020-X
    

    You can use ifconfig -l to see if the interface has been created successfully. Interfaces being with rvi.

    sh$ ifconfig -l
    lo0 gif0 stf0 en0 en6 ap1 en1 awdl0 llw0 en2 en3 en4 en5 bridge0 utun0 utun1 utun2 utun3 utun4 utun5 utun6 en7 en10 rvi0
    

    Once the interface is created. Launch your favourite traffic capture software. In my case I was using Wireshark. Select the interface rvi0 from a list of interfaces, start a traffic capture. You should see capture traffic in the software.

    Filed in: iPhone, Wireshark
    Reading Time: 1 minute(s)

    Live Capture to Multiple Files Using Wireshark

    If you want to live capture a long session, maybe over the course of a couple of hours. You will want to perform this so that you can capture the traffic to multiple files, based on size or duration of time, this makes the results much easier for analysts to work with, transferring, etc.

    I like to create a dedicated directory for the capture session. I usually place them in Capture or ProjectNameCapture directorv. Once the capture session is complete, you can select the interesting PCAP files out of the session and delete or archive the others.

    Launch Wireshark application. Open 
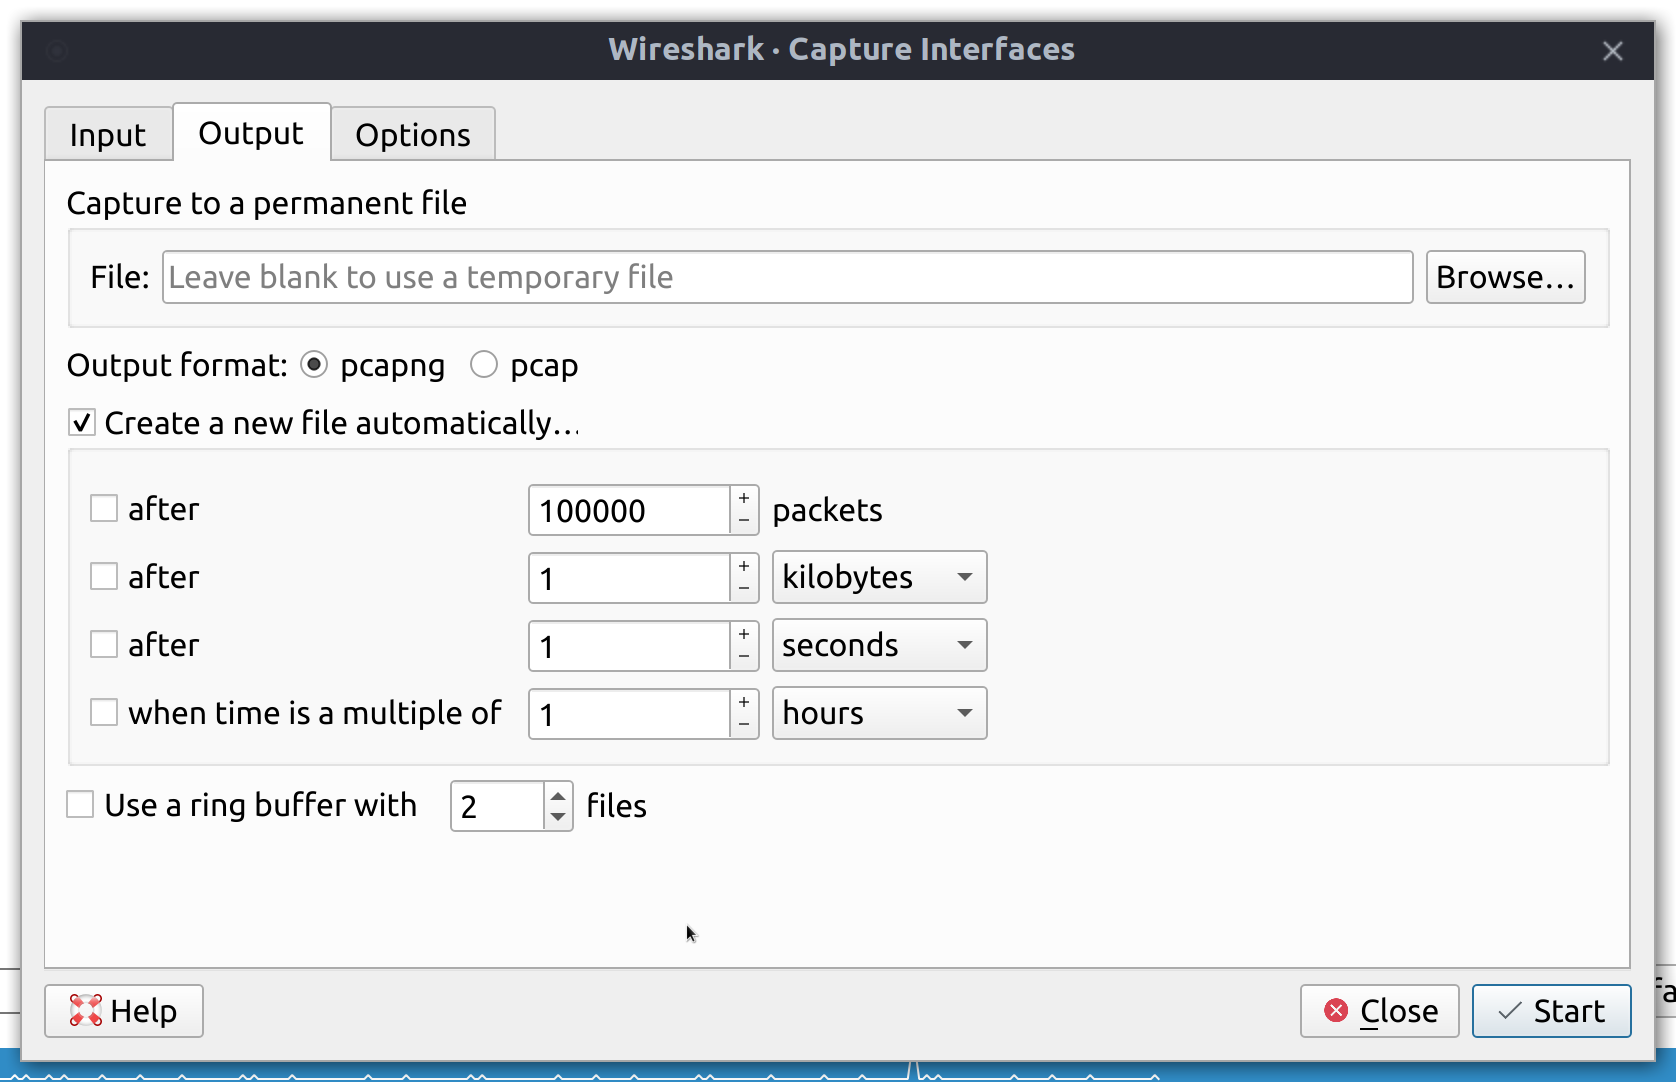
Capture options, select the Output tab.

    Select the checkbox Create a new file automatically… to be able to set your preferences for when to create the next file. You have the options of packets, size, duration, and multiple of time. There is also the option to use a ring buffer, which will remove the oldest file after the given number of files has been written.

    If you have knowledge of when the session should stop you can also automatically set the capture to stop after packets, files, or specific multiple of time.

    Click the Start button to start a capture session, writing the capture to the specified directory as multiple files.

    Wait for or repeat the issue and stop the capture. Collect the files from the capture directory you created earlier.

    Happy packet capturing!

    Filed in: Wireshark
    Reading Time: 2 minute(s)