Just back from a security conference. The major themes of the conference were passwords suck, phishing, policies, and solutions. The conference was great, good food and lots of information taken from the talks.
Scene
All this security talk got me to thinking about my own setup, a very old Cisco ASA and Cisco Wireless Router pair meets, but doesn’t give much visibility in to the network, and the number of exploits for this hardware / software must be longer than my arm at this point, so time to upgrade.
Cisco ASA needs to be replaced because it’s software isn’t current, and protecting against newer attacks isn’t possible. Cisco E4200 has to be replaced because it doesn’t support newer Wi-Fi standards.
Build
This post and some that follow will be about a security device build I have ongoing. The journey begins at picking a hardware platform, which there are a lot to choose from. I wanted to keep close to router-style as possible, so I opt for a board with no VGA or other display technologies and had a serial port (yes, RS232).
Bought a bundle that contains board, case, and power adapter. Basically, the only part required is storage, this can be an SD card or USB flash drive. I will be using mSATA drive for log storage (/var). The board I have has three mPCIe slots, but only one will work with mSATA drives, it’s label accordingly.
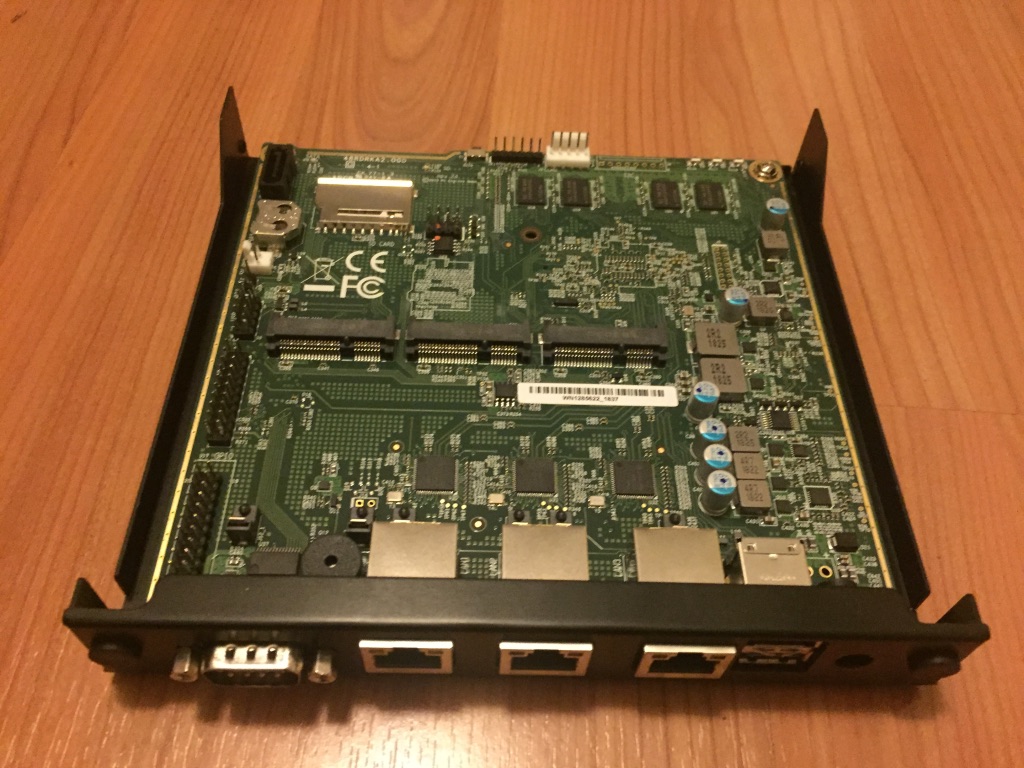
Connecting to the serial port will require a serial port, USB adapter or physical, Null modem cable, terminal software. Null modem cable you can purchase or make.
The terminal software is usually provided with the OS, but you can also use PuTTY if performing this build on Windows. Unix-based OS can use utilities like cu, minicom, and screen. I had the most success with the command cu, your mileage may vary.
sudo cu -s 115200 -l /dev/tty.usbserial
Once you connect, you might see memtest86 performing tests. I let my board perform these tests for a day or so, just to make sure the hardware was solid, and that I didn’t damage it putting it together.
Install
Download latest OPNsense and image it to a USB flash drive. Boot from this flash drive, and follow instructions on the serial console to install to SD/mSATA. SD card will hold the OS and the mSATA will hold /var.
Once you answer the questions regarding interfaces and the installation has finished you can reboot, remove the flash drive, and boot from SD card. I have found booting from SD card a little slower, but it’s not a device I will reboot often, so not a concern.
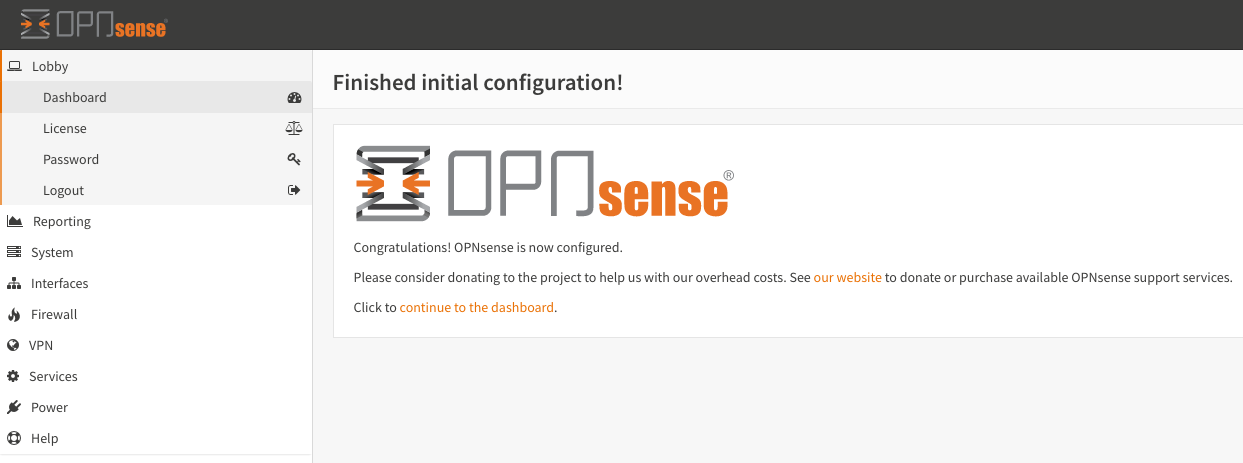
Connect to the web management on the LAN interface IP address. Login using the default, root/opnsense credentials and complete the setup from the browser.
Add mSATA After Installation
Once the mSATA SSD drive has been installed, you need to do the following to use it for /var:
- Drop to runlevel 1
- Rename /var directory to /var.old
- Make new /var directory
- Create partition using gpart on new mSATA drive (usually ada0)
- Format new partition using newfs
- Mount newly formatted partition to /var
- and lastly, copy the contents of /var.old to /var.
- Add a line to /etc/ fstab file to make changes permanent
The mount points should look like the following
root@fw:~ # mount
/dev/gpt/rootfs on / (ufs, local, noatime, soft-updates)
devfs on /dev (devfs, local, multilabel)
/dev/gpt/gpvarfs on /var (ufs, local, noatime, soft-updates)
devfs on /var/unbound/dev (devfs, local, multilabel)
devfs on /var/dhcpd/dev (devfs, local, multilabel)
After making changes like this, I like to reboot just to make sure everything will return after a cold boot.
Configuration
The initial configuration I am going with is a WAN and two LAN ports for clients and servers respectively. The WAN port has my Fiber connection and the client/server ports have switches for port expansion.
The WAN port setup is a little different, in that I add a VLAN interface with the WAN as a parent interface. In my case VLAN 35. Like I had done with my Cisco ASA years ago.
Protection
Protections from Inline Protection System (IPS) via Suricata and Malware detection via Clam. Whether you like open source or not, this is a lot of value compared to what I had before this build.
Intrusion Protection System (IPS)
I am having issues with a few of the services, most likely due to the fact that I am using a VLAN interface and the services are attempting to use the parent interface.
Virtual Private Networks
Site-to-Site VPNs for tunneling traffic to an endpoint in a different country. For example, traffic exiting a VPN tunnel could do so in the USA. This is only one use for VPNs, another would be a tunnel to an AWS Virtual Private Compute (VPC) network for development. The device can also be an OpenVPN client, saving your devices from having to establish a connection, this could be a tunnel back to the office for VoIP and other service reachability.
IPv6
At one time I tried to create an IPv4-IPv6 tunnel using old Cisco IOS router, I was successful in getting the tunnel to work, but most operating systems suffered from Happy Eyeballs and would use IPv6 endpoints regardless of speed. Resulting in slow speeds for websites that were accessible over a faster IPv4 connection.
Tunnel setup was easy and has dynamic IP service options for HE TunnelBroker service, just provide the Tunnel ID and credentials to keep the tunnel up after IP address changes.
Bonuses
Certificate Authority
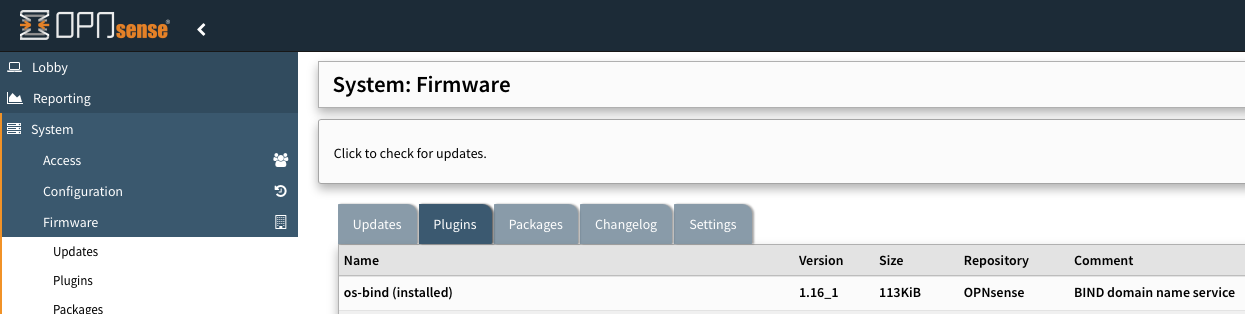
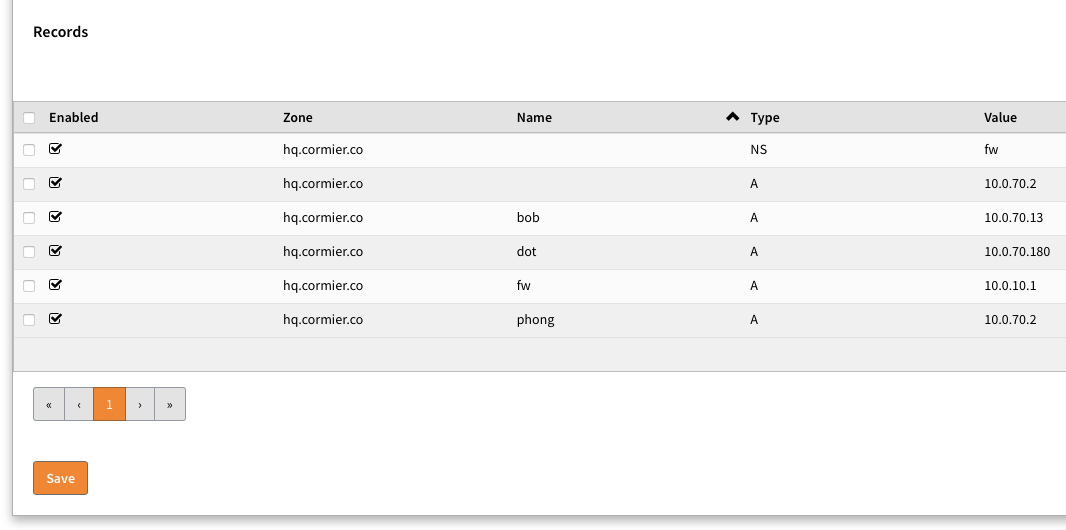
The OPNsense software has a limited by fine for home use Certificate Authority (CA), you can find it under System > Trust > Authorities.
Reporting
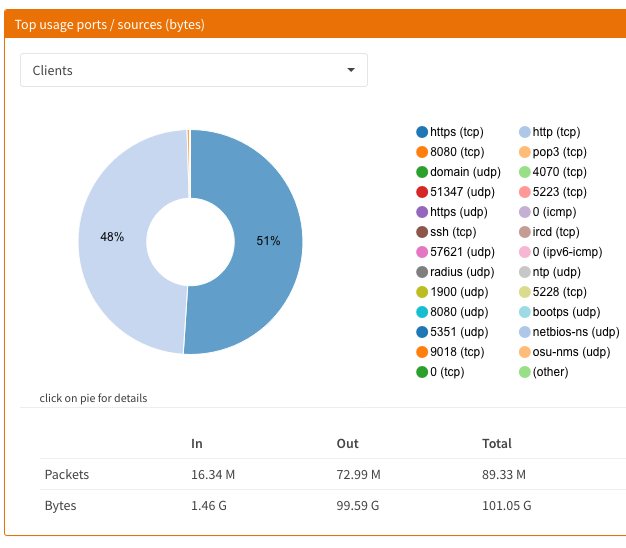
If you have the storage or service, start Netflow monitoring. This will give you Insights into the traffic that routes through the device. The simple Web UI allows for quick overview of the traffic. For further analysis, exporting to an external service / server.
Other / Future
ThingsM USB Blink device to alert on specific events, maybe.
The build was a fun project. I feel like my router is much more secure, performs better, and is much more stable.